Discover the Process:
From concept to launch, and all the details in between
Step 1: Project Consultation
The design process starts with an initial consultation where we learn about your project, goals, and vision. We’ll discuss product purpose, aesthetic direction, scope, timeline, materials, and branding needs. Afterward, we’ll provide a customized project quote with clear milestones and timelines to guide the process.

Step 2: Ideation
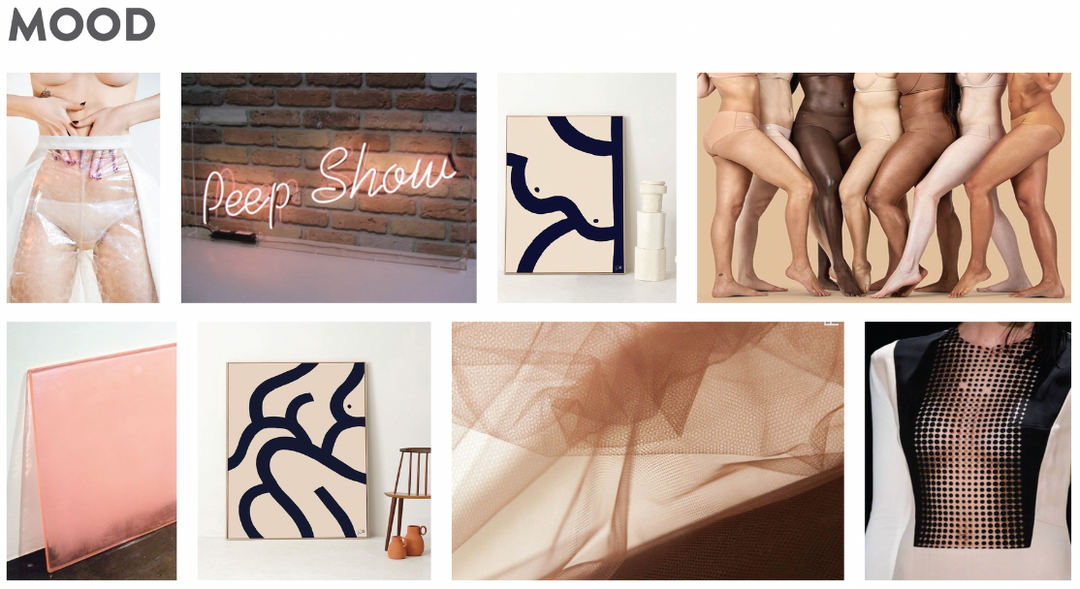
The ideation phase in accessory and apparel design is where we take the time to deeply understand the client’s vision. By creating a concept or mood board, we can visually present a range of ideas, styles, materials, and themes.
This collaborative process allows us to gather valuable feedback on what resonates with the client and what doesn’t. By aligning early on, we set the stage for a more focused and successful sketch review, designing with a clear understanding of your goals and preferences.
Step 3: Sketch Reviews
The sketch review process is divided into three key stages to ensure a thorough and collaborative approach to design.
1st Review – Initial Concepts:
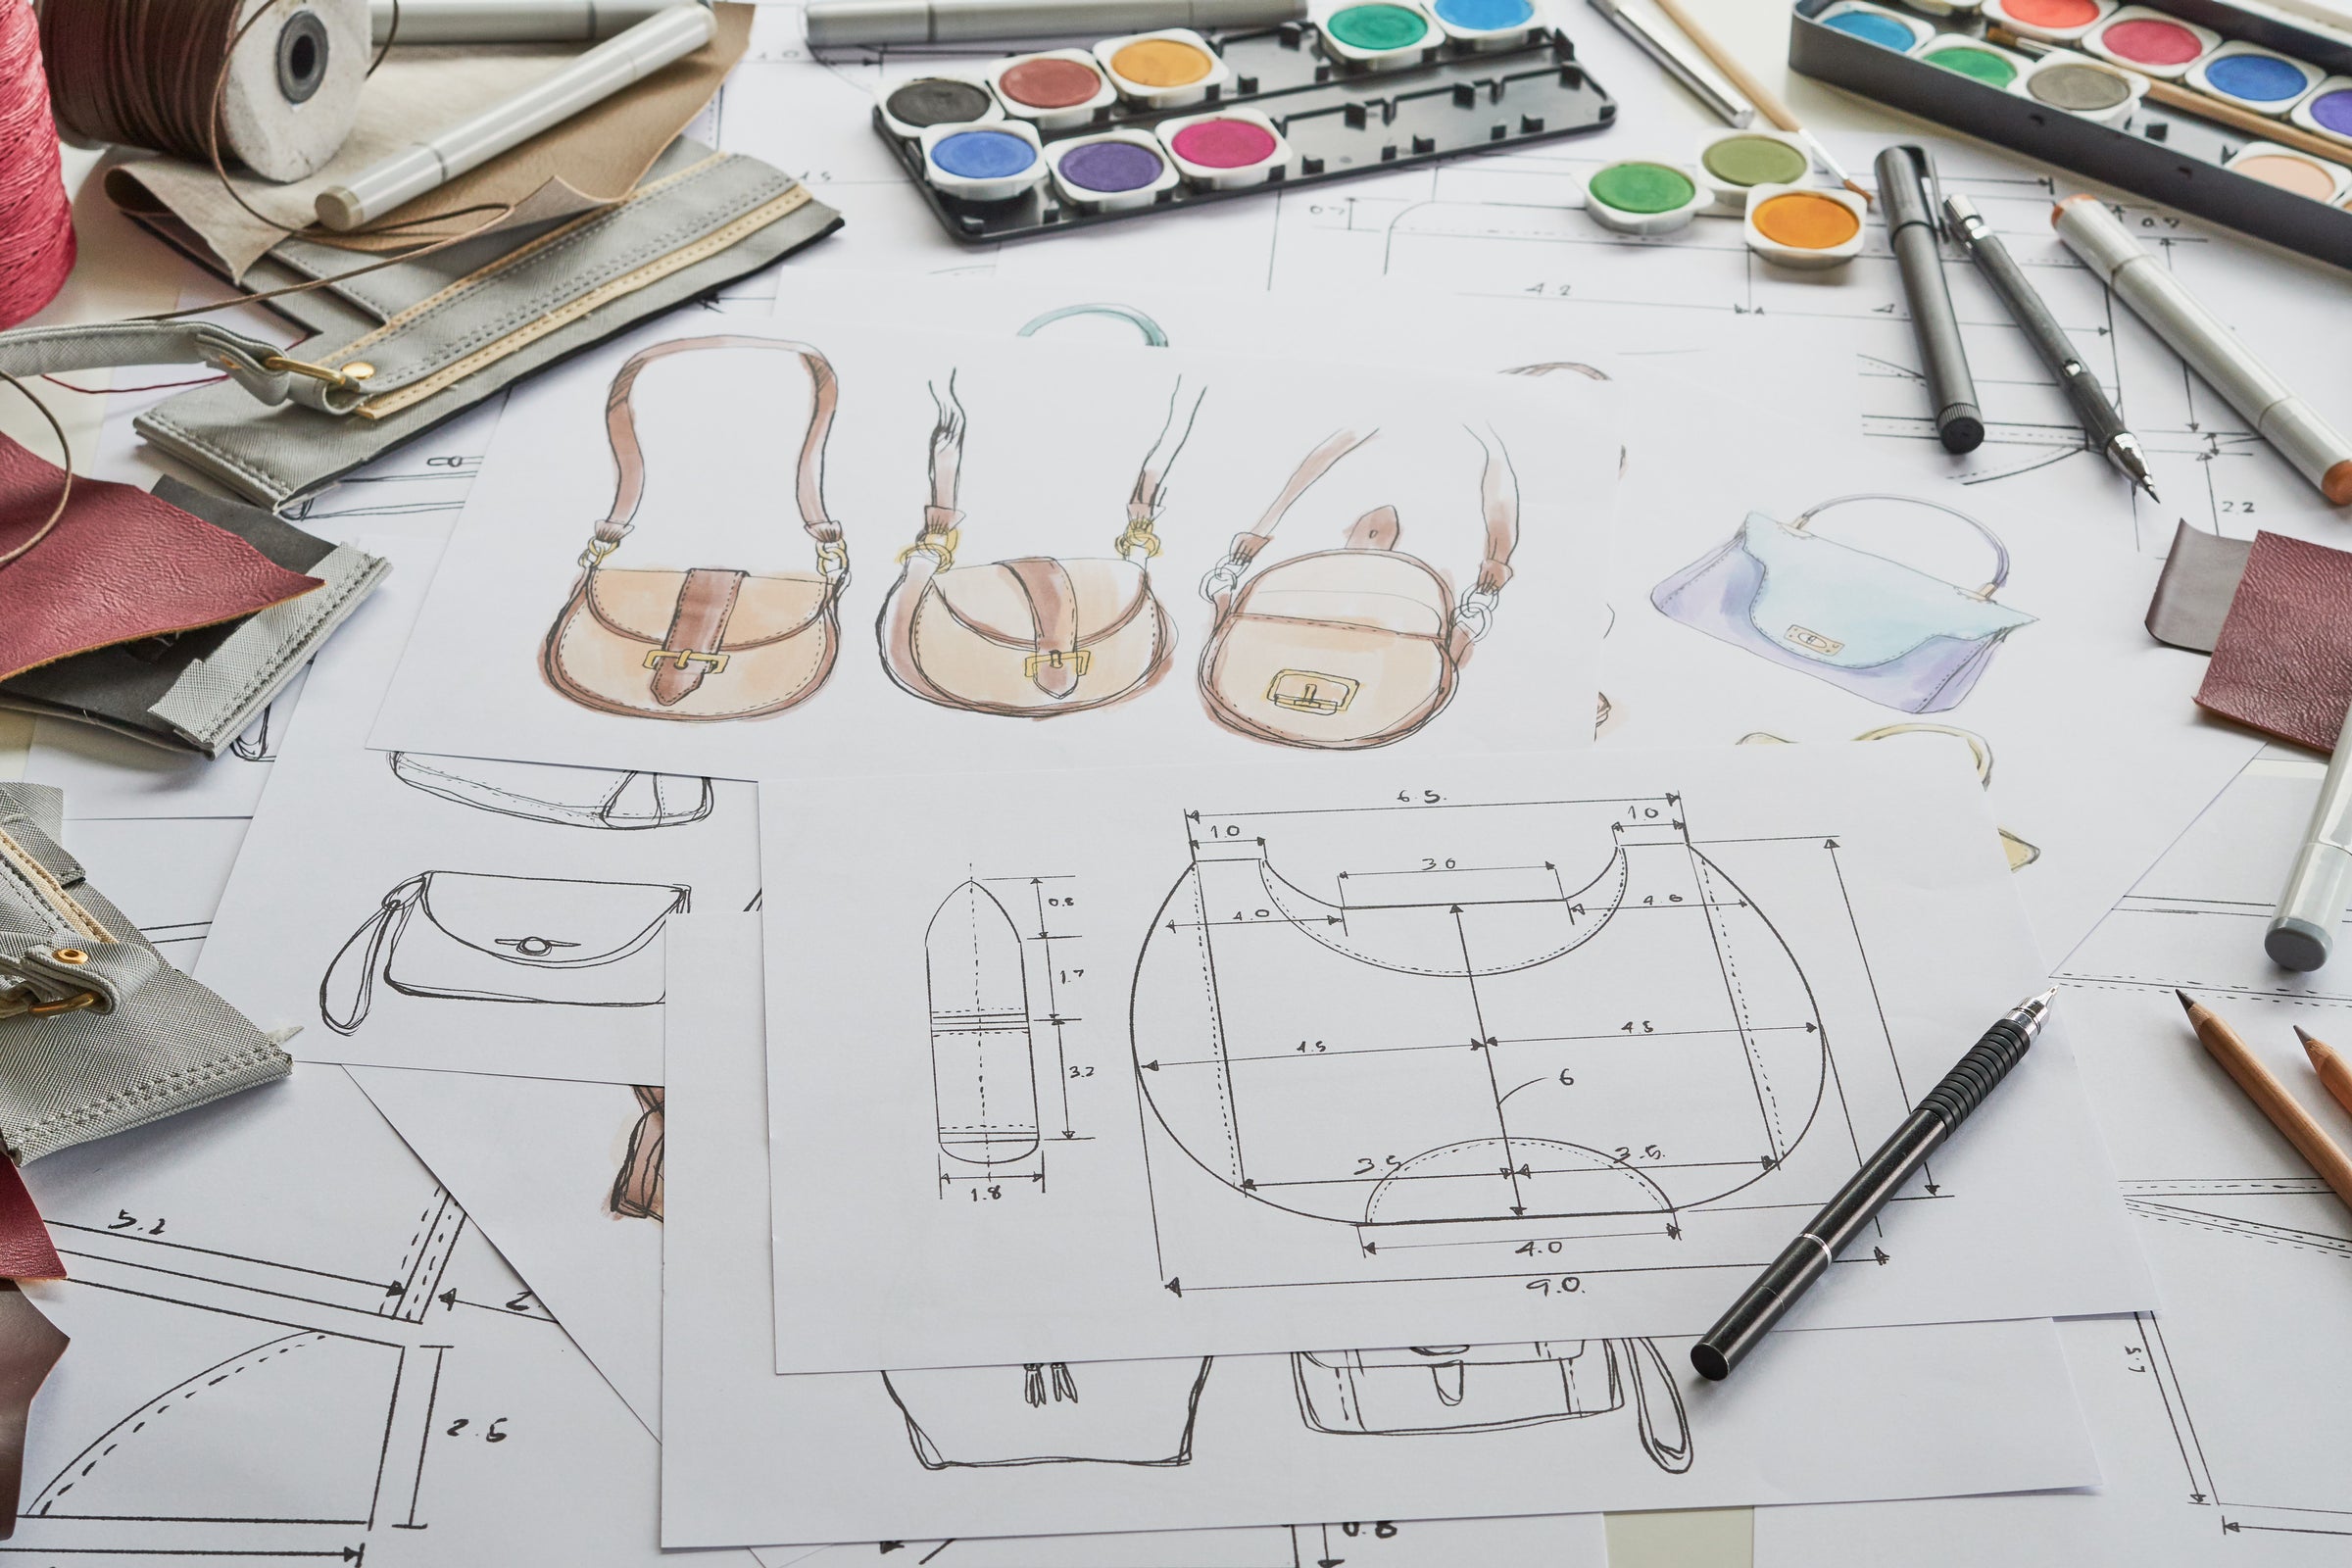
In the first sketch review, we present basic 2D design renderings of the product or collection. This is the client’s first opportunity to see the proposed design ideas, including the overall look and feel of the development. The goal at this stage is to review the initial concepts, gather feedback, and discuss potential directions for refinement.
2nd Review – Edits and Refinements:
In the second review, we incorporate the feedback from the initial meeting and present updated sketches with revisions. This phase allows us to refine details and make necessary changes based on client input, ensuring the design is moving in the right direction. The focus is on fine-tuning the design elements while continuing to narrow down the options.
3rd Review – Finalization and Color Renderings:
The third review is where the design is finalized. At this stage, we present fully developed sketches, including color renderings, material options, and any final adjustments. This review allows the client to see the complete design vision and confirm all elements before moving into the production phase. The goal is to achieve full alignment and sign off on the final design.
Step 4: Teck Packs + Bill of Materials
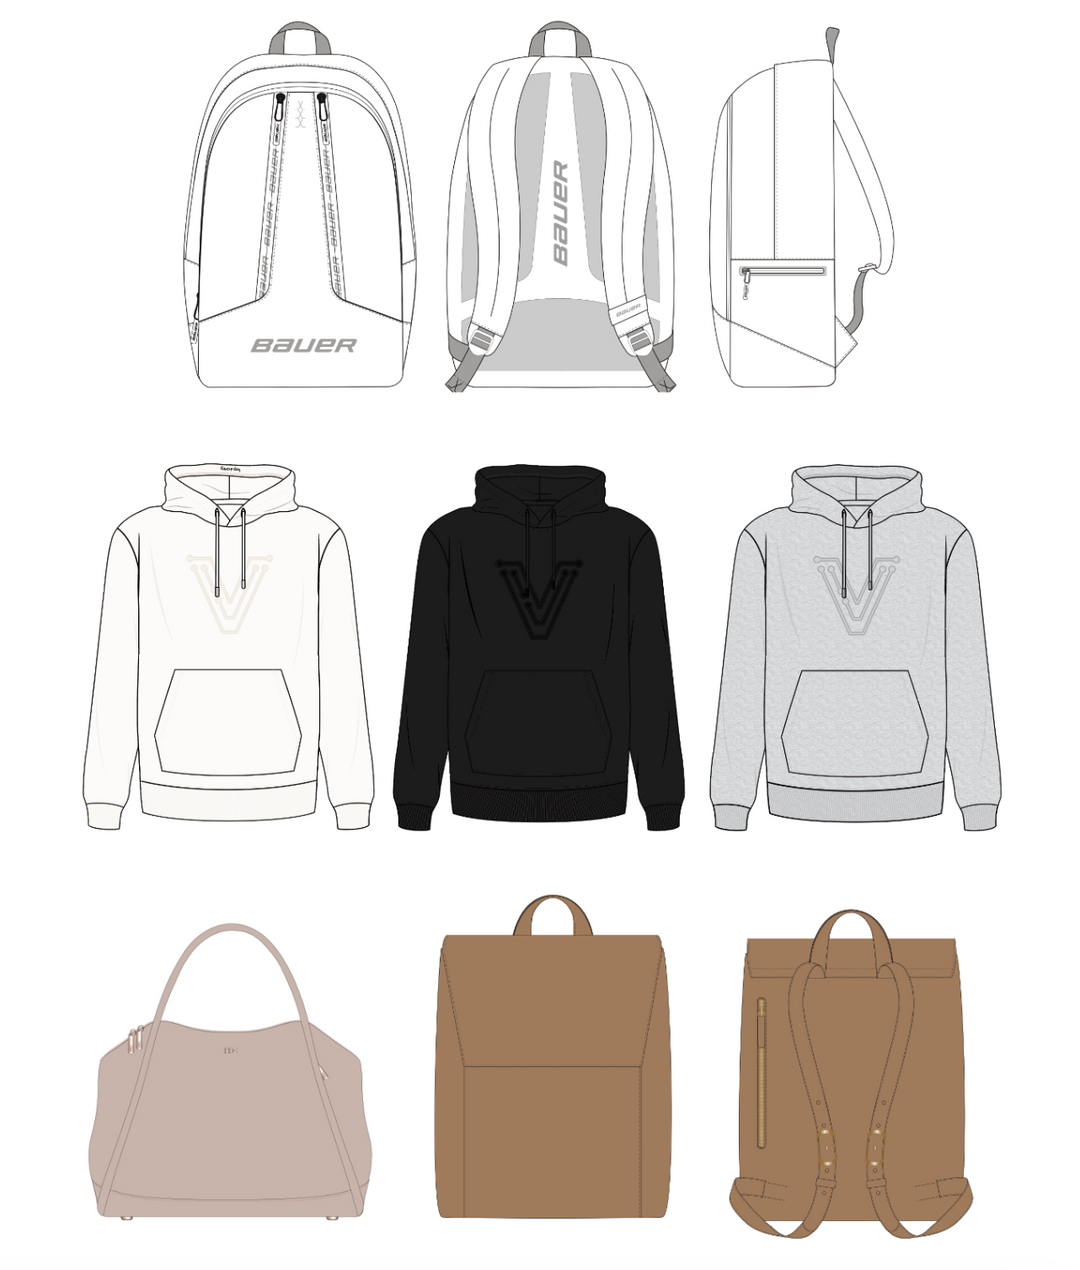
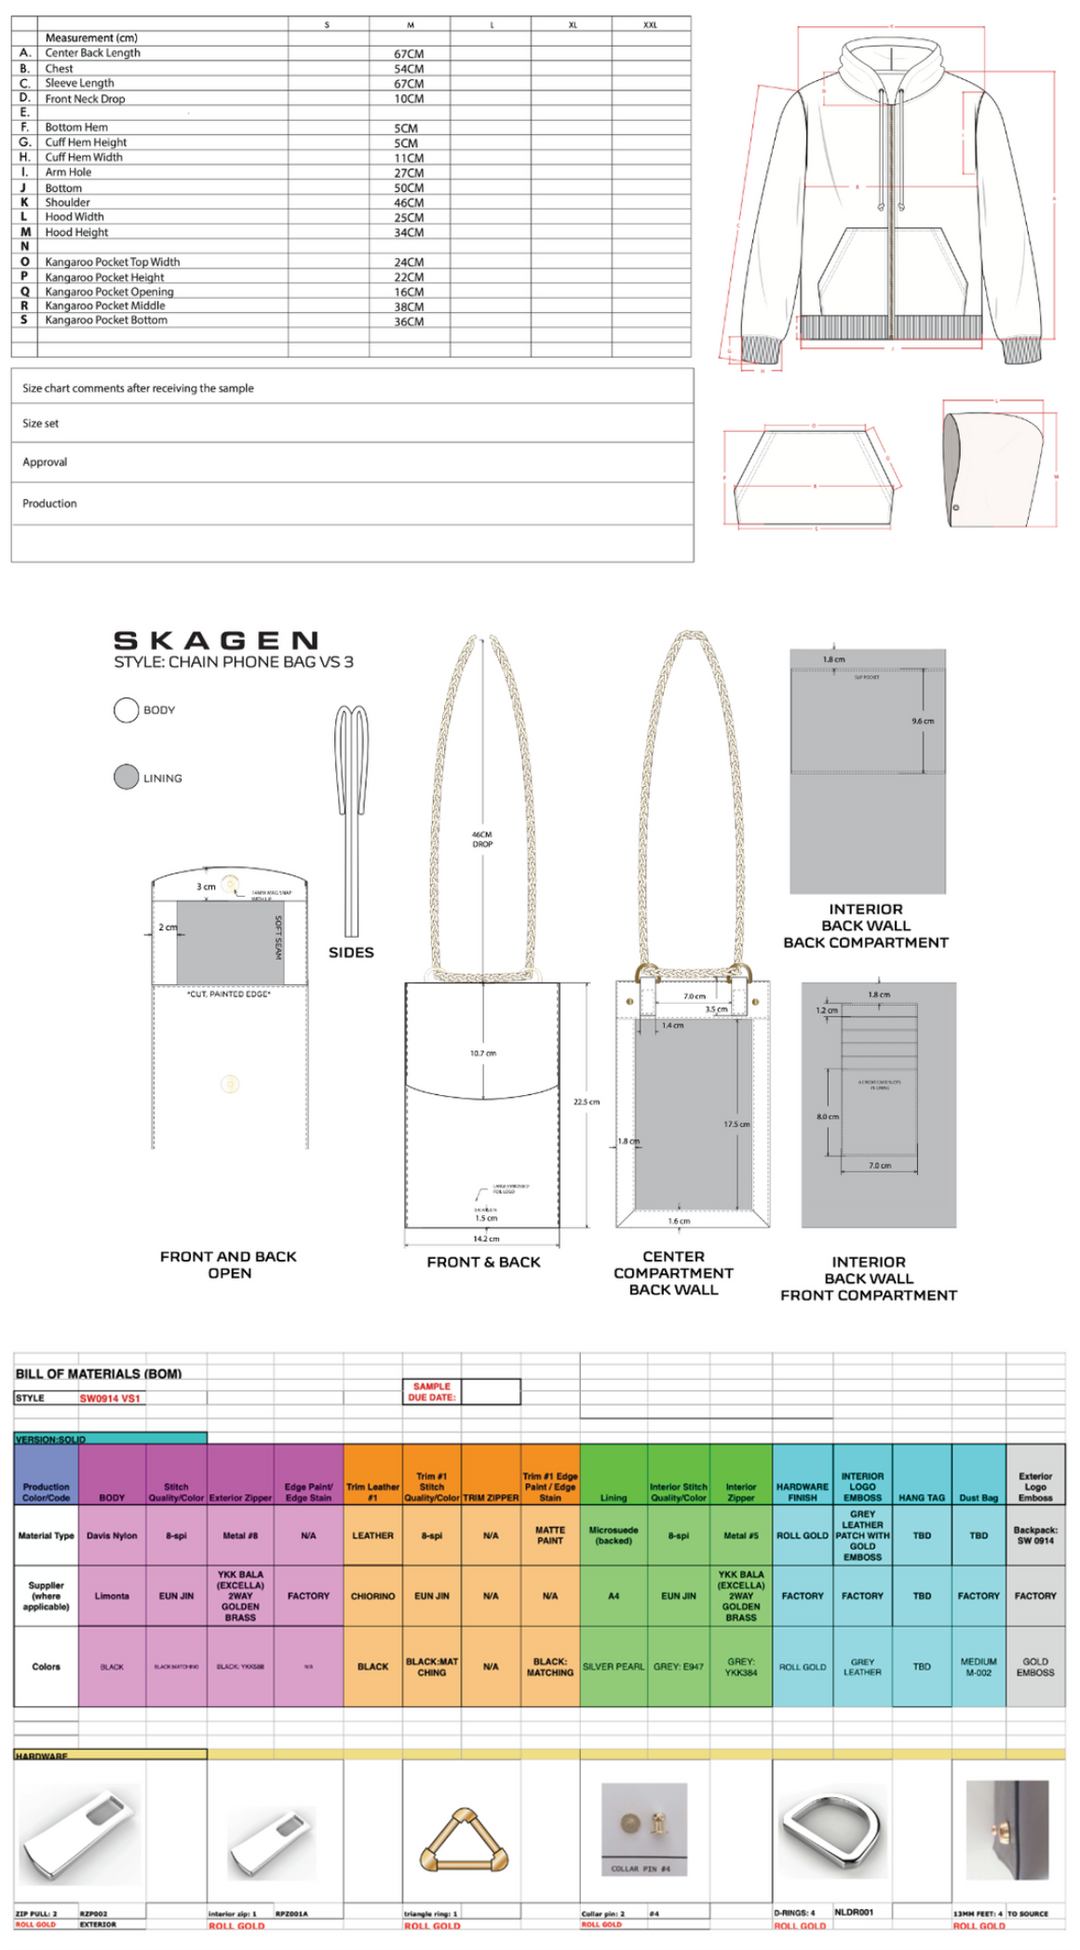
The final step in the design process before moving to sampling and production is the creation of the Tech Pack and Bill of Materials (BOM). Once the design, materials, and colorways are finalized, we create a tech pack for each design. Every tech pack includes 2D CAD or flat sketches, detailed dimensions, design callouts, sizing information, colorways, logo and branding details, Pantone references, material placement guides, and reference photos.
The Bill of Materials (BOM) is a complementary document that matches the tech pack and material placement guide. It lists all the materials used in the product, including body material, lining, thread, hardware, zippers, and more.
The accuracy and detail in these documents are crucial for ensuring the correct samples are produced, which speeds up the sampling process, saving both time and money. Tech packs are essential for clear communication with manufacturers, ensuring the product is created to the exact specifications provided.
Step 5: Sampling / Production
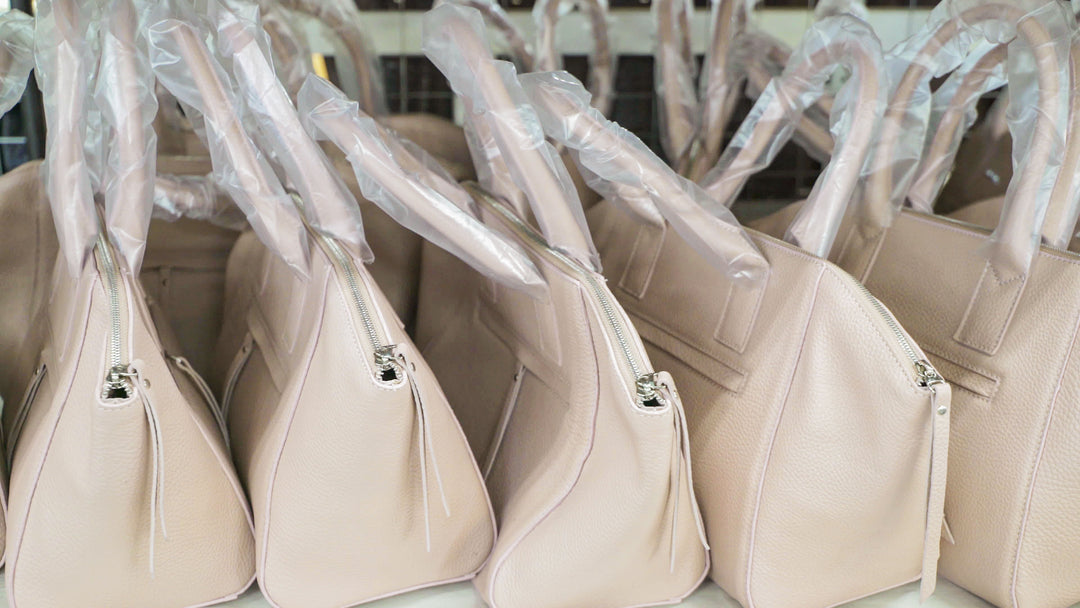
Sampling is a crucial step in bringing your designs to life. We partner closely with our factories to source materials, refine construction details, and build samples that match your vision. Throughout the process, we’ll provide updates, photos, and fit notes to keep you in the loop and ensure we’re aligned before moving to production.
Please note: Sampling is billed as a separate retainer fee, independent from your design process fee.
